

Last updated: July 21, 2026
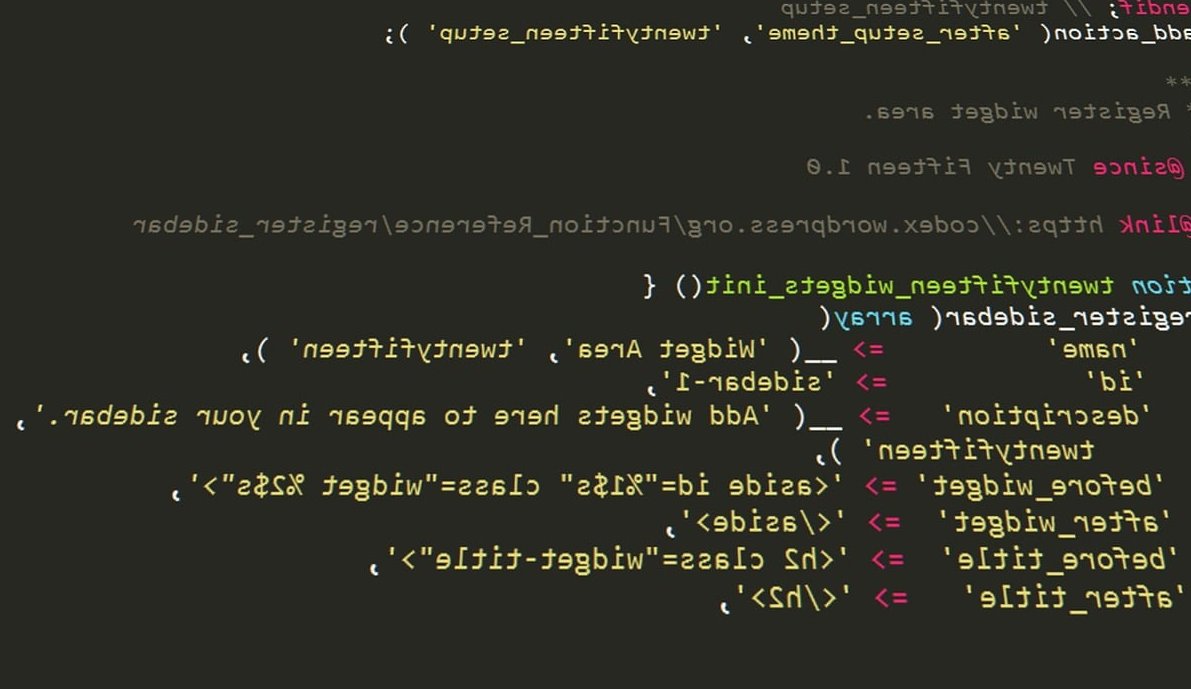
Image: Pluton WP Designs
Most developers assume building a WordPress plugin requires years of PHP experience. In practice, a working plugin that modifies your site’s behaviour can be written in under 30 lines of code – and by the end of this custom WordPress plugin tutorial, you will have done exactly that. You will build a plugin that adds a notice to your WordPress admin dashboard, appends custom text to single post content, and runs setup code on activation. More importantly, you will understand the underlying hook system that makes every WordPress plugin tick.
Prerequisites
Image: Pluton WP Designs
Before you begin, make sure you have the following in place:
- PHP knowledge – You should be comfortable with basic PHP: variables, functions, and strings. No object-oriented PHP is required for this tutorial.
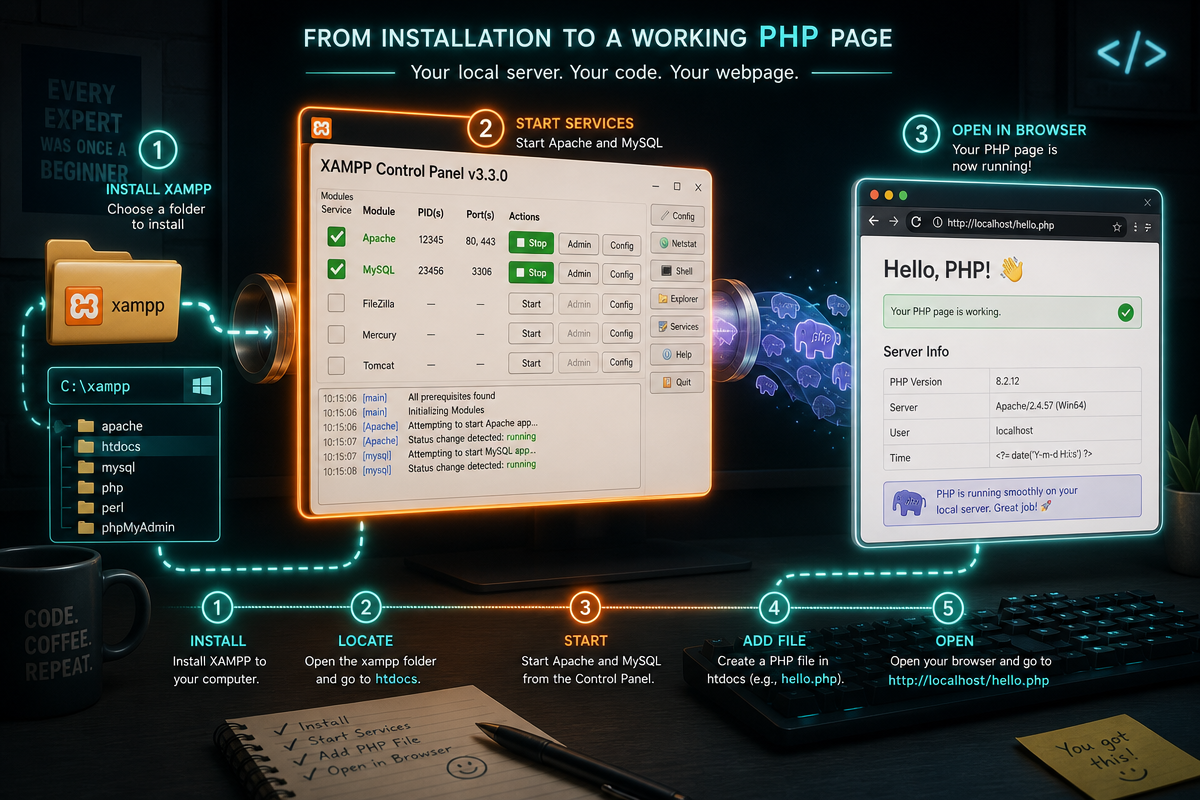
- A local WordPress installation – Use LocalWP, XAMPP, or Docker. Never develop plugins on a live production site. Mistakes on production can break your site for real visitors, and there is no easy undo.
- A code editor – VS Code is recommended. If you want to add static typing to your workflow later, the TypeScript tutorial in Visual Studio Code is a good companion resource for front-end work alongside your plugin development.
- Access to your WordPress file system – Either via your local file manager or an FTP client pointed at a staging server.
Myth vs Reality: Why You Should Not Use functions.php
A common misconception is that pasting code into your theme’s functions.php file is equivalent to writing a plugin. It is not – and the difference matters.
functions.php is theme-specific. When you switch themes, every snippet you added disappears. It is also harder to debug: you cannot deactivate a theme file the way you can deactivate a plugin with one click. A custom plugin, by contrast, is portable across sites, survives theme changes, and sits in a predictable location that WordPress expects for custom features. This is not a stylistic preference; it is aligned with how WordPress is architecturally designed to work.
If you have been managing site customisations through functions.php, this tutorial is the natural next step. For context on WordPress theme development best practices, it is worth understanding where theme responsibility ends and plugin responsibility begins.
Step 1: Create the Plugin Folder and Main File
Plugins live in /wp-content/plugins/. Navigate there and create a new folder called my-first-plugin. Inside that folder, create a PHP file with the same name: my-first-plugin.php.
This naming convention – folder and main file sharing the same name – is the standard WordPress structure. WordPress scans the plugins directory and reads the main PHP file to discover your plugin.
What you should see: Your directory structure should now read wp-content/plugins/my-first-plugin/my-first-plugin.php. Nothing will appear in wp-admin yet; WordPress has not read the file until you add the plugin header in the next step.
Step 2: Add the Plugin Header
Open my-first-plugin.php and add the following at the very top:
<?php
/**
 * Plugin Name: My First Plugin
 * Plugin URI:  https://example.com
 * Description: A beginner plugin that demonstrates hooks and filters.
 * Version:     1.0.0
 * Author:      Your Name
 * licence:     GPL2
 */
This structured comment block is called the plugin header. Without it, WordPress will not recognise the file as a plugin at all – it simply will not appear in the Plugins screen. Each field (Plugin Name, Description, Version, licence) is read by WordPress to display information in the admin panel and manage updates. Note that the field name is licence – the WordPress standard spelling – not licence; a misspelled field will not show a licence link on the Plugins screen.
What you should see: Navigate to Plugins > Installed Plugins in your WordPress admin. “My First Plugin” should now appear in the list with the description and version you entered, alongside an Activate link.
Common mistake: Omitting the Plugin Name: line or placing any PHP code above the opening <?php tag. WordPress cannot parse a header that starts mid-file.
Step 3: Activate the Plugin and Confirm It Loaded
Click Activate next to “My First Plugin” on the Plugins screen. WordPress will reload the page.
What you should see: The plugin row will display a Deactivate link in place of the Activate link, and a success notice will briefly appear at the top of the screen: “Plugin activated.” If you instead see a fatal error, PHP has found a syntax problem – open my-first-plugin.php in your editor, look for missing semicolons or unclosed brackets, and reload.
If the Plugins screen shows a row with no name – just a file path – that means the plugin header is missing or the comment block does not open with /**. Correct the header and hard-refresh the Plugins screen.
Step 4: Guard Against Direct Access
Immediately after the plugin header, add this line:
if ( ! defined( 'ABSPATH' ) ) {
    exit;
}
This check ensures the file cannot be loaded directly through a browser by typing its URL. When WordPress loads normally, it defines the ABSPATH constant. If someone attempts to access your plugin file directly, that constant will not exist – so exit fires and nothing runs. This is a critical security best practice and should appear in every plugin file you write.
What you should see: Try visiting https://yoursite.local/wp-content/plugins/my-first-plugin/my-first-plugin.php in your browser. You should see a blank page with no output. That is the correct result – the exit guard is working.
Step 5: Add an Admin Notice Using an Action Hook
WordPress runs on a hook system. There are two main types: Actions, which let you run your own code at a specific moment in WordPress’s execution, and Filters, which let you intercept and modify data before WordPress uses it.
To add a notice to the WordPress admin dashboard only, use the admin_notices action combined with a screen check:
function mfp_admin_welcome_notice() {
    $screen = get_current_screen();
    if ( ! $screen || $screen->base !== 'dashboard' ) {
        return;
    }
    echo '<div class="notice notice-success is-dismissible">
        <p>Welcome! My First Plugin is active and running.</p>
    </div>';
}
add_action( 'admin_notices', 'mfp_admin_welcome_notice' );
add_action tells WordPress: “When the admin_notices event fires, run mfp_admin_welcome_notice.” The get_current_screen() check restricts the notice to the main dashboard page – without it, the notice would appear on every admin screen, including the post editor, settings pages, and plugin list.
The mfp_ prefix on the function name is a namespace convention – it prevents your function name from clashing with functions in other plugins or WordPress core. Always prefix your function names with something unique to your plugin.
What you should see: Navigate to Dashboard > Home in wp-admin. A green dismissible notice reading “Welcome! My First Plugin is active and running.” should appear below the admin toolbar. Visit the Posts screen or any other admin page – the notice should not appear there.
Common mistake: Naming your function something generic like welcome_notice(). If another plugin uses the same name, PHP will throw a fatal error. Unique prefixes prevent this entirely.
Step 6: Modify Post Content Using a Filter
Filters work differently from actions. Instead of running code at a moment in time, a filter receives a value, lets you modify it, and expects you to return the modified version.
The the_content filter is one of the most commonly used. It intercepts the content of a post just before WordPress displays it:
function mfp_append_content( $content ) {
    if ( is_single() && in_the_loop() && is_main_query() ) {
        $content .= '<p><strong>Thanks for reading! Check back soon for more.</strong></p>';
    }
    return $content;
}
add_filter( 'the_content', 'mfp_append_content' );
The three conditional checks – is_single(), in_the_loop(), and is_main_query() – are not optional decoration. Without them, your filter would also modify widget areas, excerpts on archive pages, and any other context where the_content runs. These checks lock the modification to single post views in the primary content loop only.
What you should see: Open any published post on your site’s front end. The line “Thanks for reading! Check back soon for more.” should appear in bold directly after the post body. Visit your homepage or a category archive – that line should not appear there.
If you see your appended text appearing on your homepage or in sidebars, it means you are missing one or more of these conditionals.
Step 7: Run Setup Code on Activation
Some plugins need to do something exactly once – set a default option, create a database table, or flush rewrite rules. WordPress provides register_activation_hook for this purpose:
register_activation_hook( __FILE__, 'mfp_on_activation' );

function mfp_on_activation() {
    add_option( 'mfp_activated', true );
}
register_activation_hook runs mfp_on_activation once, at the moment the plugin is activated from the admin screen. It does not run on every page load. The __FILE__ constant tells WordPress which file the hook is attached to – always pass this rather than a hardcoded path.
What you should see: Deactivate and reactivate the plugin, then open your database using phpMyAdmin or LocalWP’s Adminer. In the wp_options table, you should find a row where option_name is mfp_activated and option_value is 1. If the row is absent, check that register_activation_hook appears before the function definition, not after.
Troubleshooting
Plugin does not appear in the Plugins screen
The plugin header comment is likely missing or malformed. Check that the Plugin Name: field is present and that the comment block opens with /** directly after <?php. A single typo in the header structure will cause WordPress to ignore the file.
Fatal error: Cannot redeclare function
Your function names are clashing with another plugin or theme. Add a unique prefix to every function in your plugin – for example, mfp_ as used throughout this tutorial.
Content filter running in the wrong place
You are missing one of the three conditional checks (is_single(), in_the_loop(), is_main_query()). Add all three to restrict the filter to the correct context.
Admin notice appearing on every admin page
You are missing the get_current_screen() check in your notice function. Add the screen base check shown in Step 5 to restrict output to the dashboard only.
Growing Beyond One File
Once your plugin handles more than two or three concerns, keeping everything in one file becomes unwieldy. The conventional approach is to split by responsibility: a includes/ folder for core logic, an admin/ folder for admin-only code, and assets/ for CSS and JavaScript.
A typical structure for a small plugin that has grown slightly looks like this:
my-first-plugin/
├── my-first-plugin.php   ← main file, loads everything else
├── includes/
│   └── content-filter.php
└── admin/
    └── dashboard-notice.php
In my-first-plugin.php, load the additional files using require_once:
require_once plugin_dir_path( __FILE__ ) . 'includes/content-filter.php';
require_once plugin_dir_path( __FILE__ ) . 'admin/dashboard-notice.php';
plugin_dir_path( __FILE__ ) returns the absolute path to your plugin folder with a trailing slash, making it safe to concatenate file names. Never use relative paths or dirname( __FILE__ ) strings manually – they break when WordPress is installed in a subdirectory.
What you should see: After moving your functions into the included files and reloading wp-admin, the plugin should behave identically to before. If you see a fatal error about an undefined function, check that the require_once paths match the actual file locations exactly.
Next Steps
You have now built a working WordPress plugin with an action hook, a filter hook, and an activation hook. From here, the natural progression is:
- Enqueueing scripts and styles – Use
wp_enqueue_scriptsto load CSS and JavaScript files safely, without hardcoding them into templates. - Shortcodes – Register your own shortcodes with
add_shortcodeso editors can embed plugin features directly in post content. - Settings pages – Use the WordPress Settings API to give your plugin a configuration screen in the admin panel.
- Custom post types and taxonomies – Extend the data model with
register_post_typeandregister_taxonomy.
The patterns you have learned here – registering hooks, using conditionals, prefixing functions – scale directly to all of these. WordPress development is largely a matter of knowing which hook to reach for. The same analytical approach applies when working with modern JavaScript: if you are building interactive front-ends alongside your plugins, 7 new JavaScript features in ECMAScript 2026 covers language improvements that simplify common patterns you will encounter.
If you would rather have a professional build or extend your WordPress plugins, the team at DRS Web offers bespoke WordPress development tailored to your project’s requirements.
Frequently Asked Questions
Q: Do I need to know PHP to build a WordPress plugin?
A: Basic PHP is sufficient to get started – you need to understand variables, functions, and strings. Object-oriented PHP is useful for larger plugins but is not required for the foundational examples in this tutorial.
Q: What is the difference between an action and a filter in WordPress?
A: Actions let you run your own code at a specific moment in WordPress’s execution, such as when a post is saved or when the admin screen loads. Filters intercept a piece of data – such as post content – let you modify it, and require you to return the changed version. Actions execute; filters transform.
Q: Why should I prefix my plugin function names?
A: PHP does not allow two functions with the same name to exist at the same time. If your plugin and another plugin both define a function called welcome_notice(), WordPress will throw a fatal error. A unique prefix – matching your plugin’s slug – prevents this clash entirely.
Q: Is it safe to test plugin development on my live site?
A: No. Always use a local development environment (LocalWP, XAMPP, or Docker) or a staging site. Plugin errors can produce fatal PHP errors that take your site offline, and there is no straightforward undo on production.
Q: What does the ABSPATH check do?
A: if ( ! defined( 'ABSPATH' ) ) { exit; } prevents your plugin file from being accessed directly via a browser URL. When WordPress loads normally, it sets the ABSPATH constant; a direct file request will not, so the script exits immediately before any code runs.
Q: When should I split my plugin into multiple files?
A: As soon as a single file becomes difficult to scan – typically when it exceeds around 150 lines or mixes admin and front-end logic in the same place. Use require_once with plugin_dir_path( __FILE__ ) to load additional files from a predictable location.
This article was researched and written with AI assistance, then reviewed for accuracy and quality. Kev Parker uses AI tools to help produce content faster while maintaining editorial standards.
Need help with your web project?
From one-day launches to full-scale builds, DRS Web Development delivers modern, fast websites.